8488851 eða
bdae@simnet.is fyrir frekari spurningar
Ég skal sjá um að skrúfa þetta í sundur og setja saman ef viðkomandi treystir sér ekki í það
passar bæði af Vw Bora sedan og Wagon/stationeinhverjum sem langar í golf mk4 framenda í skiptum við þinn mk4 Boru framenda? skiptir ekki máli hvernig hann er á litinn.
á að vera mjög auðvelt:
Step 1: Remove the hood
What you want to do first is simply open the hood. On the far left side you will see plumbing going into the hood for the window washer unit. Pop the rubber cap off and give this a little pull. Next disconnect the sprayers (Pull down from the hood, will pop off with some force) and disconnect the hosing (Warning: if yours have headed nozzles like mine did, we simply cut the wires and reattached them later on. If you have a better way to do it, be my guest). Once the washer units are disconnected it should slide right out of the hood.
Then simply remove the 4 bolts (13mm) holding the hood on (two on the left, two on the right) and remove the arms on the right that props the hood open (will be a bolt on the top holding it to the hood).

Step 2: Removing fender lining
Like the hood, this is another easy removal process (we recommend removing the front wheels to make this step easier). The fender lining is the plastic liner under the fender which keeps dirt from entering the bay. Holding this on is 12 t25 torx bolts holding this on (on each side, 24 total) which can be easily removed. One off the fender liner should simple slide right out.
Once the fender liners are off you can easily remove the side markers which release by popping them in. I also recommend not removing the turn signals which you remove by pushing the corner in, sliding it forward and it should pop right out. Simply remove the plug from the back and lay these somewhere.

Step 3: Removing the front grill
This was most likely the least written about subject and one that gave me the most problems. In order to remove the grill you must snap it out of place (do not be afraid of breaking it).
On the top left and right of the grill are 4 snaps. Simple pry them off and it will snap lose, same goes for the bottom snaps. Now in order to remove pull tab for the hood (when you pop your hood, the little handle pops out to open the hood)
at the end of the tab (part connected to the actual mech.) you will see a metal clip, pry the clip back and then pull the tab off the two plastic prongs (may take a few tries. we found it best to remove by putting a piece of metal like a small wrench in between the two connectors and turning it to an angle to pry it apart. May take a few minutes to get it off).
After you do that the grill will slide right off.

Step 4: Removing the front bumper
The front bumper is pretty simple to remove. It is held on by 5 bolts found where the grill used to be and 2 bolts found on the bottom of the bumper where the plastic inserts are (located on the outside inserts, no need to remove middle insert). To remove the plastic inserts simply pry the top down until it snaps off. After the bolts are removed the bumper should slide right out.
Step 5: Removing the lights
To remove the lights there will be 2 bolts on the top and 1 on the bottom (I cant remember if there are others because I did not do the lights, Kenny did, but I remember there only being 3). The lights should slide right out with ease.
Step 6: Removing the fenders
This is the hardest and most time consuming part
Holding the fender on will be 4 10mm bolts on the top of the engine bay where the hood used to rest, 4 bolts behind the bumpers, and 4 inside the wheel well where the fender liner covered.
The bolts in the wheel well will give you the most trouble. Covering these 4 bolts is a hard dried compound of undercoating which has to first be removed. The most talked about method is heating it up with a hair dyer and then scraping it off. But we decided to just chisel it off (high highly recommended, because its fastest and who cares since its all covered by a liner anyways). To chisel it off we used a screwdriver and a hammer. Rest is self-explanatory.

Step 7: Installation
Once you have done this to two cars it gets rather easy. So in order to put the car back together you simply reverse the steps. Save the fenders, this is the most time consuming step. Most of the pieces such as the fender, bumper, and hood have to be lined up so it all matches, which tends to be a 2 person job. And we recommend placing some fabric where the hood used to be for when you reinstall it or you may chip a lot of paint.

Step 8: Enjoy, take pictures

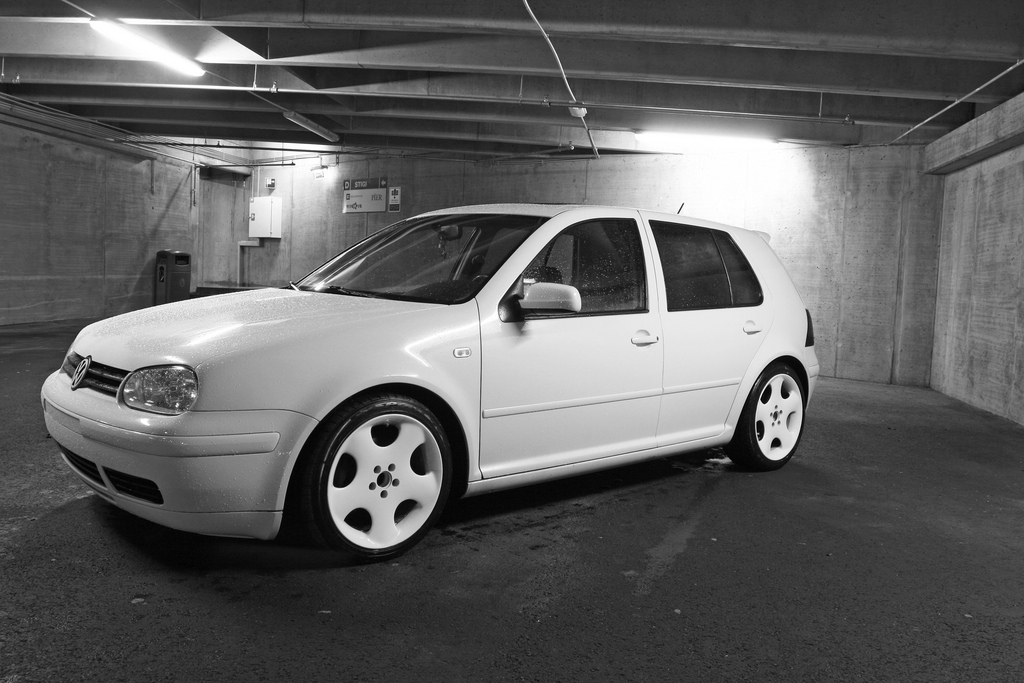
Mynd af mínum: